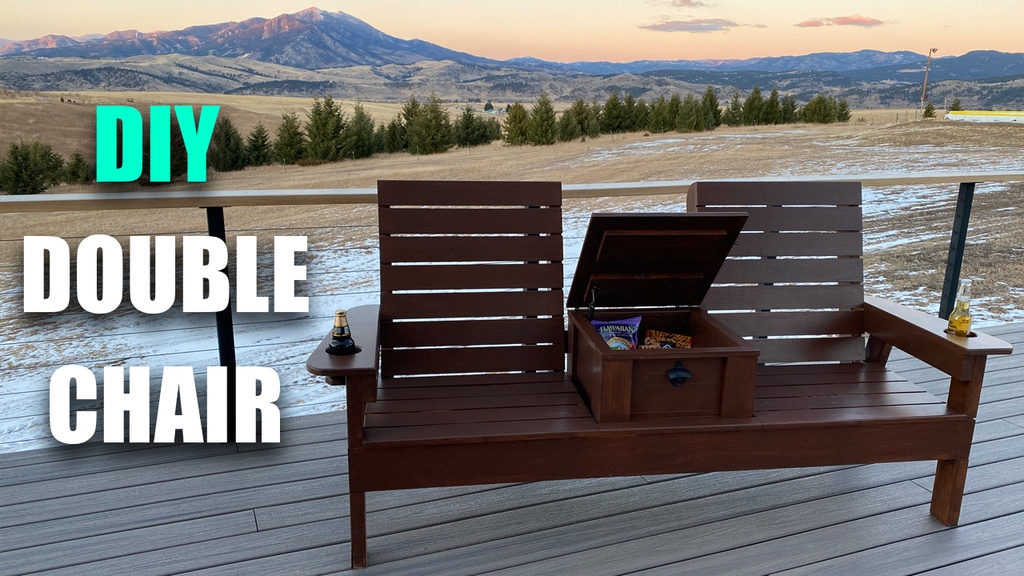
In this post, we'll walk through the steps of how to build a DIY Double Chair. You can find the downloadable DIY Double Chair here, in case you'd like them to help make your build go smoothly.
This new Double chair build has wider seats, taller backrests, drink holders, and a center storage / cooler area. It is build to last and is heavy enough so it won't blow when the winds come up.
This is a fun and simple project that will look great on your patio. Please let me know in the comments below if you take action on the project and build it! 🙂
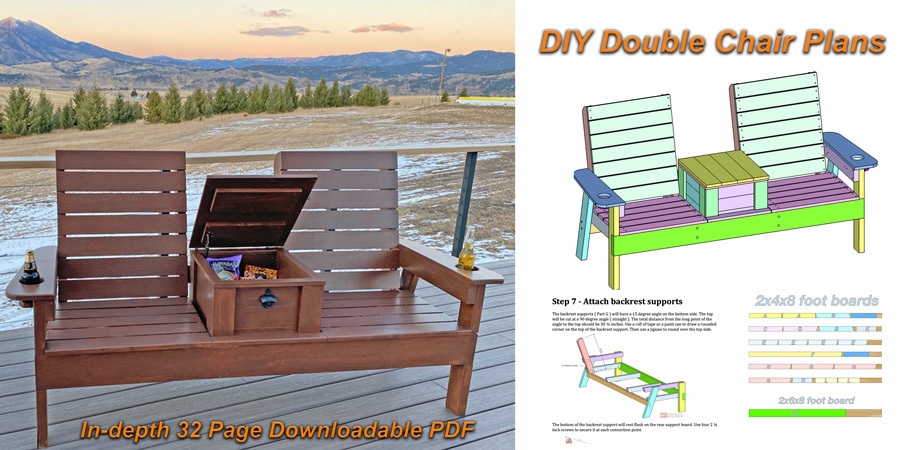
DIY Double Chair Video Tutorial
The first version
About six years ago, I built the first version of the DIY Double chair. It ended up being very popular, and you can find the plans, detailed video, and double chair tutorial here.

In addition to the original version, I also did a single chair version here. There are plans and a video for this project as well.
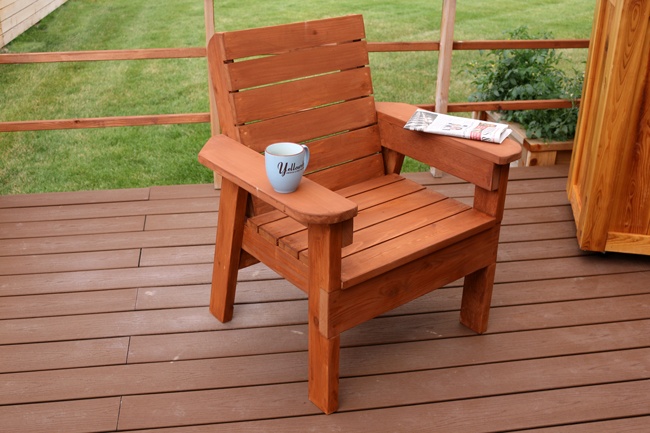
DIY Double Chair Version 2 Build
As I mentioned, this new version came about because of your requests to add some new features to the plans. So, I figured I'd rework the design and make it even better.
Materials
This double chair is built out of everyday lumber you can find at the hardware store. To help keep costs down, I used pine to build it. Total cost for all of the wood was about $145. You'll also need some screws, wood glue, and other supplies to complete the project.
I used a combination of 2×4, 2×6, 1×4, 1×6, and 1×8 boards for the project.
Tools used
Please note that some of the links in these plans are affiliate links, which means I’ll get a small commission if you purchase any of the tools using them. This helps a lot with being able to devote more time to creating new projects. So thank you for your support!
Miter Saw – Dewalt 12” Miter Saw
Table Saw – Dewalt Table Saw
Orbital Sander – Dewalt battery powered sander
Drill and Impact driver – Dewalt kit ( Impact driver is optional )
Jigsaw – Dewalt battery powered
Router – Dewalt battery powered ( optional )
18 Gauge Nail Gun – Dewalt battery powered ( optional, but very handy )
Speed Square, Tape Measure, Ruler, Pencil
Build the frame
The frame is built out of 2×4 boards and 2×6 boards. Everything is then screwed together using deck screws.
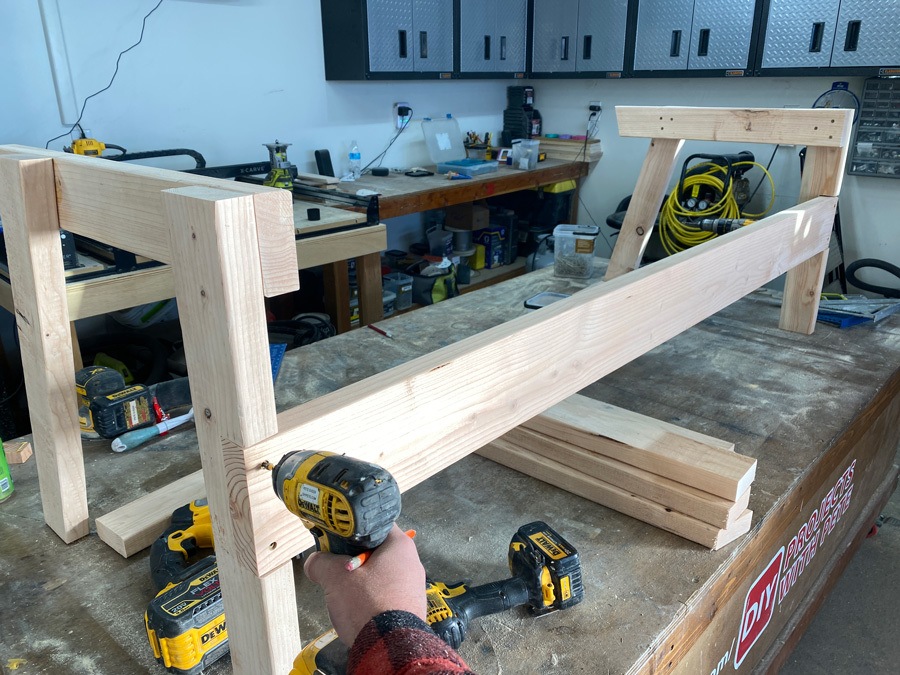
The rear support board is added under the side cross supports. I flipped the entire frame upside down to make it easy to attach this part.
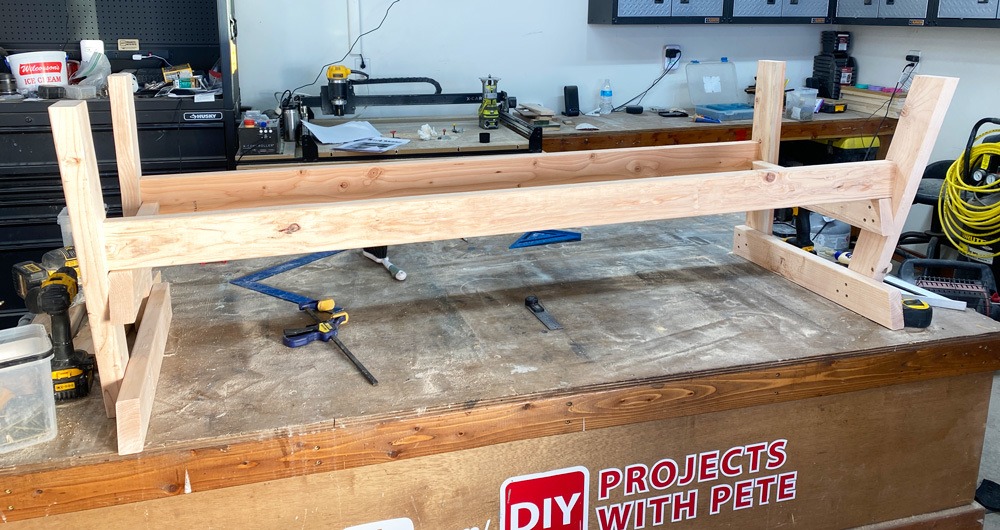
The cross supports are secured to the rear support by using 3 inch long screws. Predrill, then insert the screws at an angle.

Build the backrest supports. Use a roll of tape to create a nice rounded corner. Then cut using a jigsaw. Sand to smooth things out after cutting.

Secure the backrest supports in place. As you can see, they will be flush with the back of the cross supports. All angles for this project are cut to 15 degrees or 90 degrees ( straight ).
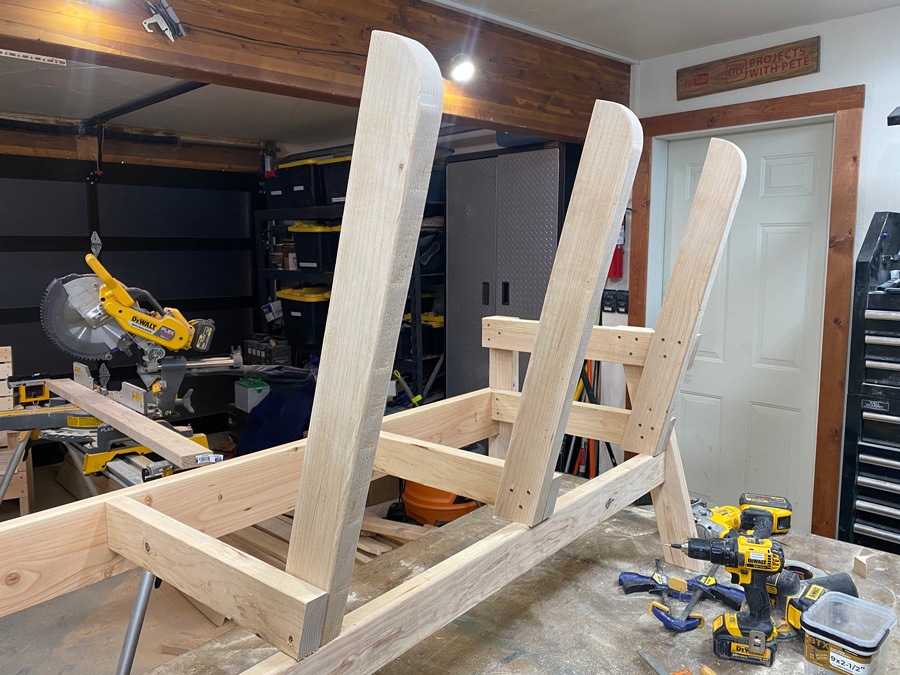
Add the slats. I put the top backrest slat on first to square things up. The backrest is 23 inches in width.

Continue adding slats for the seat and then backrest. Space them about 1/4 of an inch apart.

I used a 1×8 board to create an armrest wide enough for a drink holder. A 3 inch diameter hole saw was used to create the hole. I used an ice cream bucket to draw around to form the rounded corners of each end of the armrest.

I built a simple box using 2×4 and 1×4 boards. I then put it in place between the two chairs and secured it using screws.
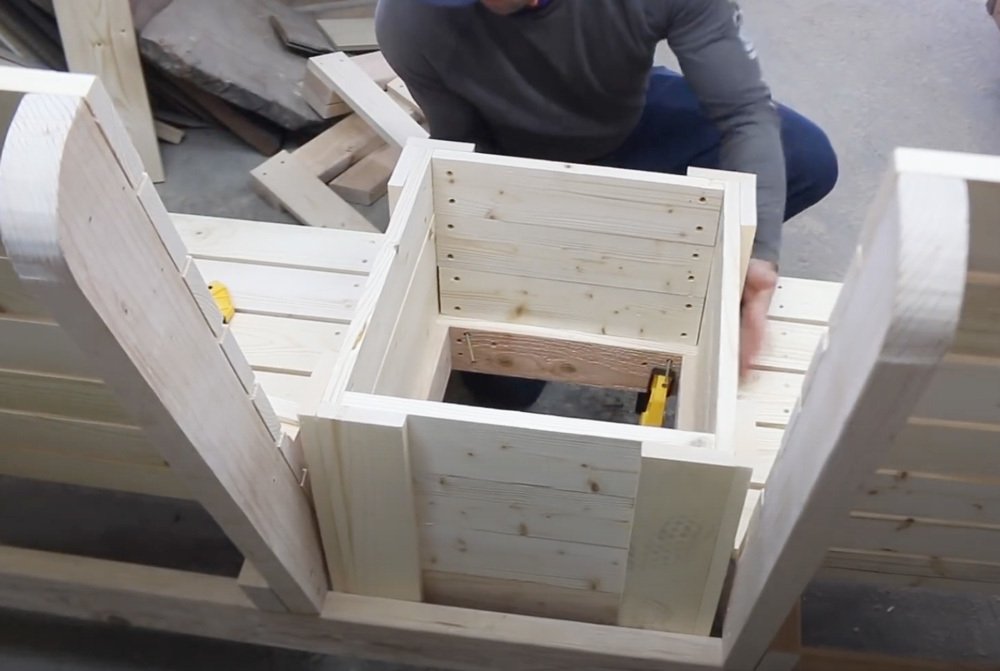
Here is a diagram from the plans showing how the box is lined up during the install. If you'd like the DIY Double Chair plans, you can purchase them here.

I ripped a 1×4 down in size on the table saw to create some trim boards. The ends were then cut at 45 degree angles and attached using wood glue and nails

Next, I built a lid for the DIY double chair storage / cooler area. I used 3 inch T hinges on the backside and then a chest hinge support to hold up the lid. A bottle opener was installed on the front.

An eye hook latch was added to keep the lid from ever opening during high winds. As you can see, the screw holes were filled in with putty, which will be sanded once dry.

Here you can see the underside of the chair and get a better look at how the cooler / storage area is placed. You'll also notice that the excess putty was removed. I used an orbital sander and 220 grit sandpaper.

A router with a roundover bit was used to go around the armrests, table top, and a few other areas. It is not necessary, but does add a nice touch.

A semi transparent deck/fence stain was used as a finish. This will help protect the patio furniture and minimize maintenance. I love the look of a clear spar urethane, but in my experience you really have to stay on top of it about every year or two to keep it looking good. Once it starts peeling, it is a lot of work to get it to look good again. A deck stain doesn't peel, lasts longer, and is easier to maintain and touch up.


Thanks so much for checking out my DIY Double Chair version 2 tutorial! I hope it inspires you to build some patio furniture and that you enjoy it for years to come. If you run into questions make sure to check out the video at the top of the post and to comment below with any questions. Good luck and have fun!!
Cheers,
Pete
PS: Please share photos of your completed double chair builds below. I love to see how your builds turn out, and all of the creativity you put into them. You inspired me to do this new edition, with many of your ideas. Please share your ideas with others so we can keep building awesome and simple to make DIY furniture!

