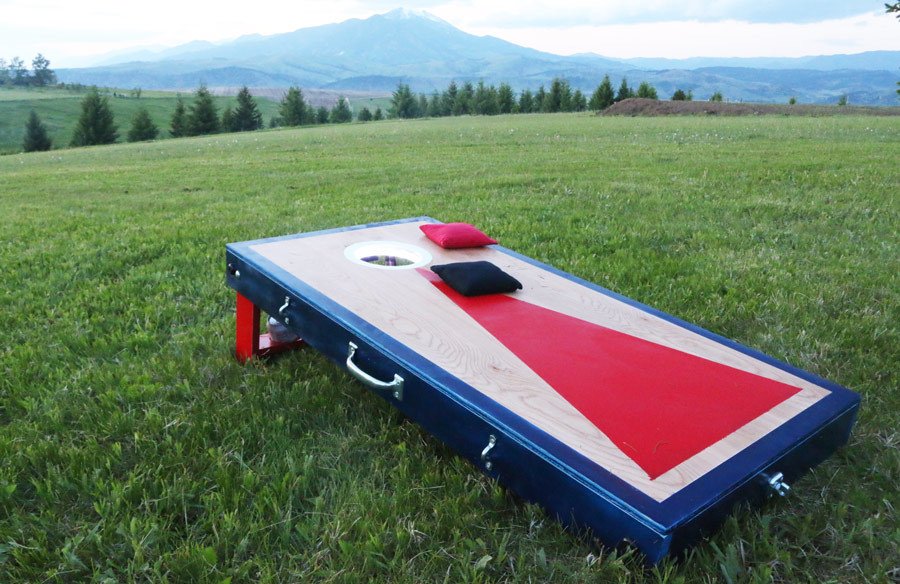
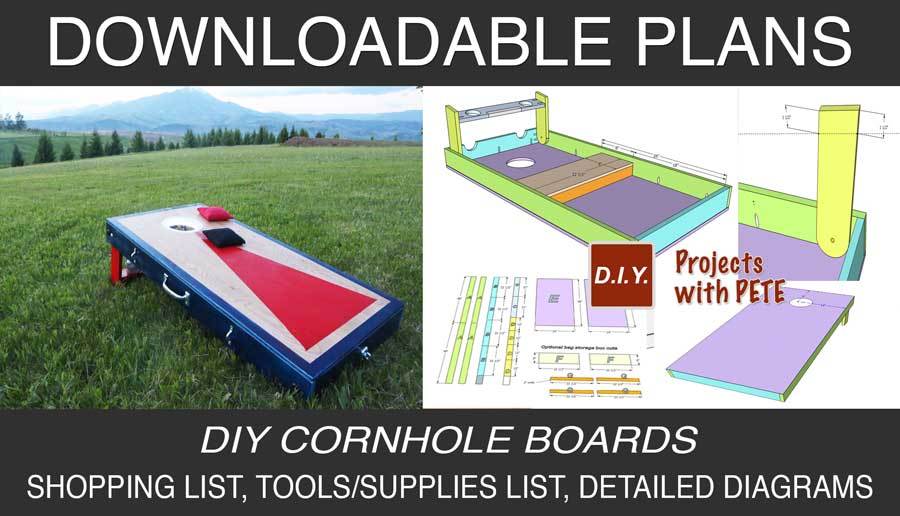
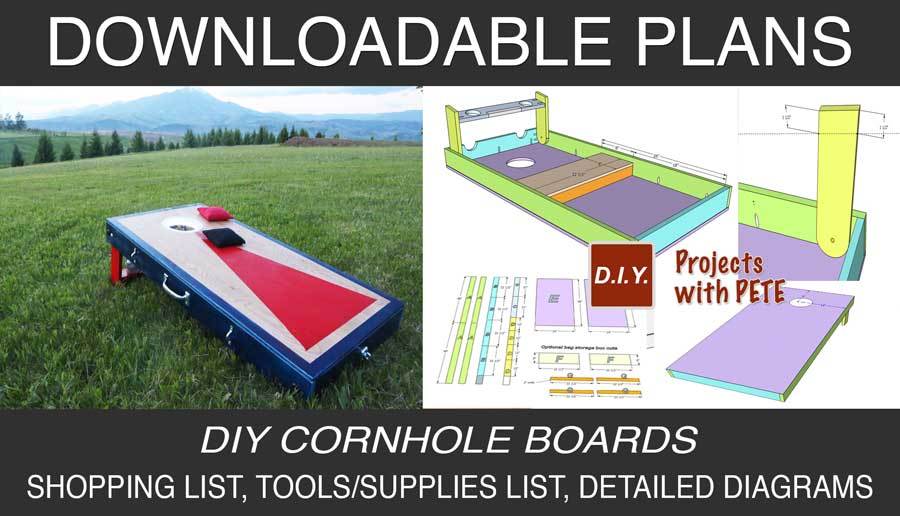
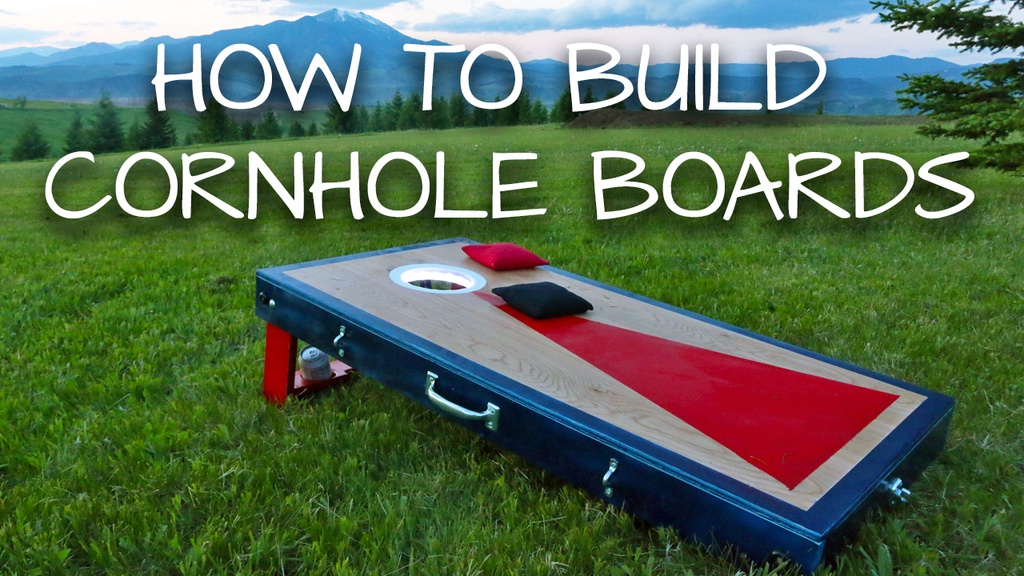
In today's tutorial I'll be walking you through the process of How to Make Cornhole Boards. To help you through the process, I've created downloadable Cornhole Board Plans, a detailed video tutorial, and step by step photos below.
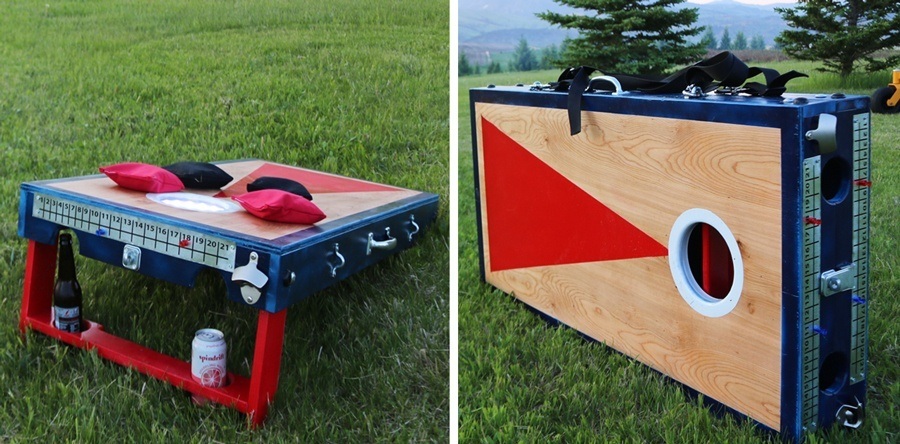
This tutorial about how to make cornhole boards includes accessories like beverage holders, a cornhole scoreboard, LED lights, built in cornhole bag storage, handles, straps, and buckles. The 1×4 cornhole boards are lighter than the 2×4 version that I built a couple years ago. Total cost for the wood will be about $75. Accessories, paint, and additional items will add to the cost.
Tools Used
Many of the tools used in this project about how to make cornhole boards are available on Amazon or at your local hardware store. If you do click on any of the affiliate links on this page, a small commission will go toward the site and help support more documented project videos and tutorials. Thank you in advance!
Miter Saw – I'd recommend a 12 inch miter saw.
Drill – A regular drill and an impact driver are both very handy around the shop.
Orbital Sander
Jig Saw – To cut out the hole and to make beverage holder notches
6 inch Hole Saw
3 inch Hole Saw – for beverage holders
Kreg Jig – Optional to hide screws
Kreg clamp
Tape Measure
Speed Square
Compass ( Optional ) – To create rounded legs and a ring around the hole for painting. Or use a coffee mug and bucket like I did.
Wood used
The boards are made out of 2 foot by 4 foot sheets of half inch thick plywood. The frames and legs are made out of 1×4 boards. You can find all of the measurements in the DIY Pete downloadable cornhole board plans.
Accessories used
Scoreboard – Search around on Amazon for some ideas. Or build your own out of thin gauge sheet metal similar to how I did.
Bottle Opener – Available at Home Depot or Amazon 2 for $10
LED Ring – (Optional) $24
Cornhole Bags – Get any color combination on Amazon. $28
Steps showing How to Make Cornhole Boards
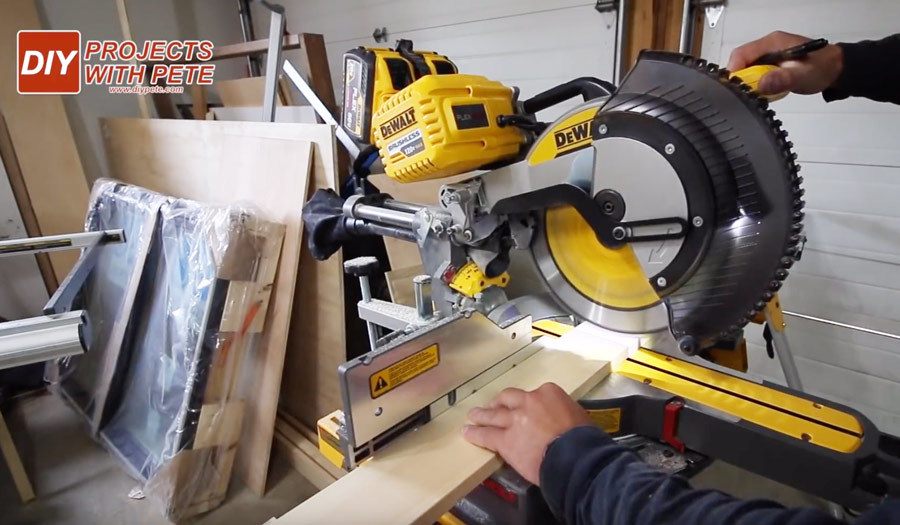
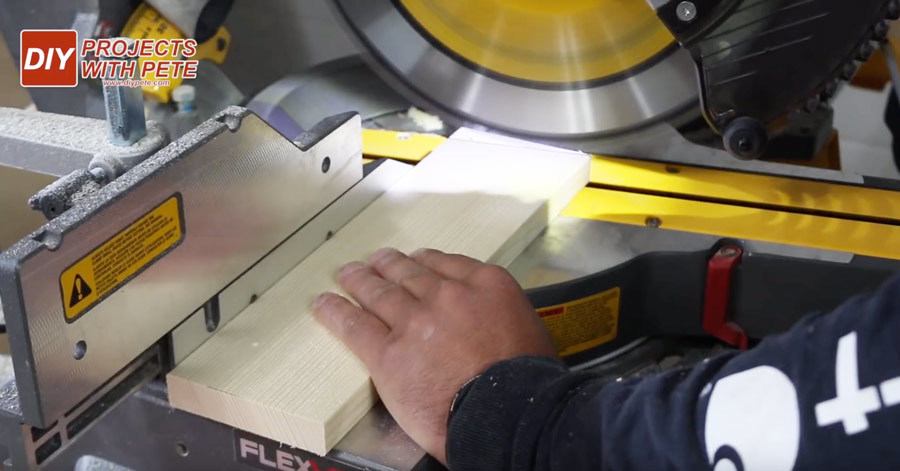
Start by making the cuts on a miter saw. If you don't have a miter saw, use a circular saw or hand saw. I recently upgraded to a Dewalt Flexvolt miter saw and absolutely love it. The saw is battery powered so it can be used anywhere.
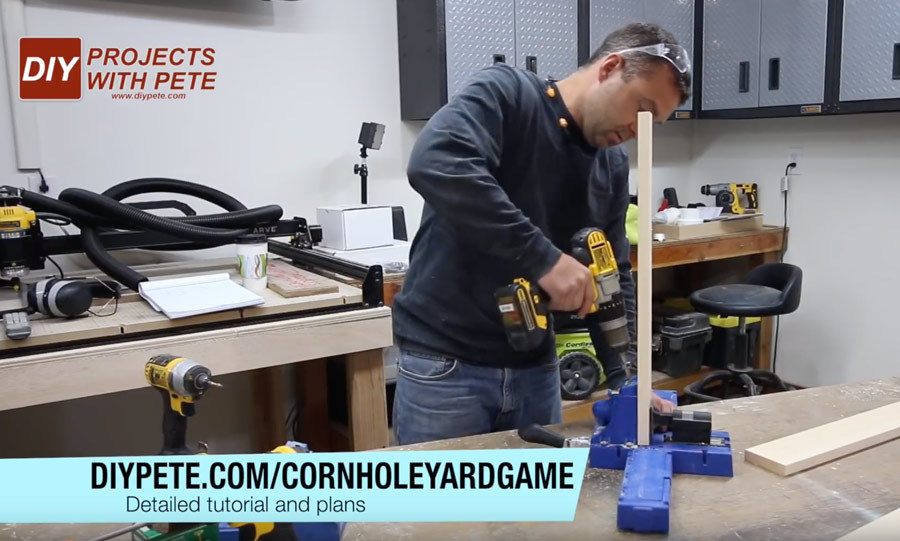
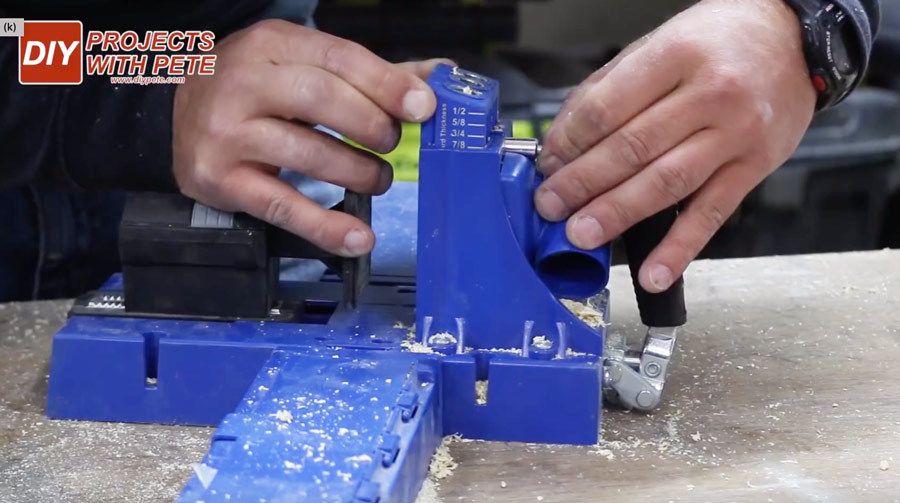
Using pocket holes is a great way to hide screw holes. Set your jig and bit up for 3/4 inch stock for the ends of the short boards. Pocket holes make the connections super quick and easy. I'm using a Kreg Jig K5 here, but the Kreg Jig K4 is a little cheaper and will do the same exact thing.
If you are using pocket holes to connect the plywood, you'll want to set the jig to the 7/8 inch setting. Adjust the stop collar on the bit to the 5/8 inch setting. These settings will ensure the screw doesn't go all the way through the plywood. Then use 1 1/4 inch long pocket hole screws to make the connection.
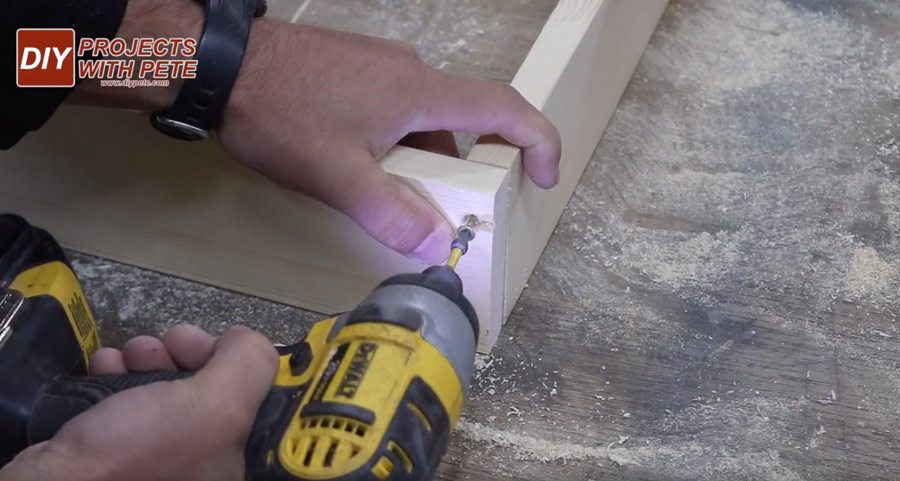
Connect the boards to each other at each corner using two 1 1/4 inch long pocket hole screws and wood glue.
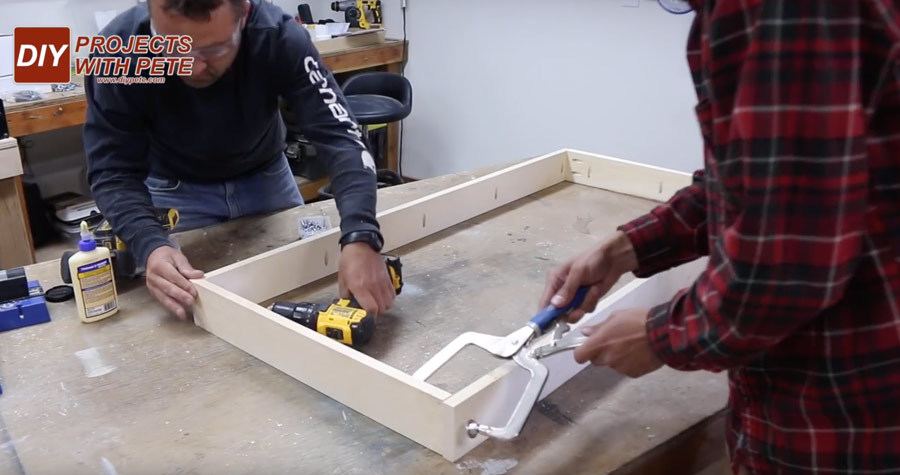
If you don't have a pocket hole jig, simply pre-drill and then use two wood screws and glue at each corner. I used #8 1 1/2 inch long screws. Countersink the screws so you'll be able to hide them with wood putty if you don't want to see them.
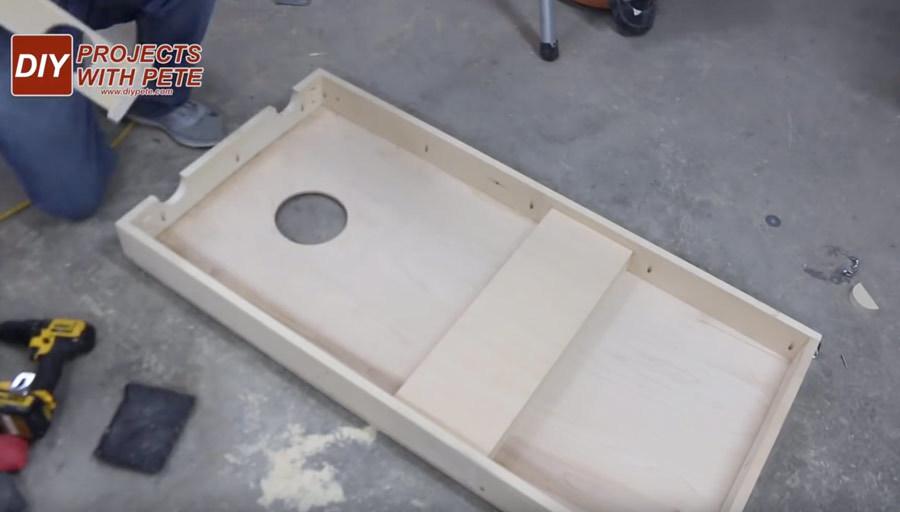
Attach the frame to the plywood using 1 1/4 inch long pocket hole screws. Use glue around the perimeter of the frame.
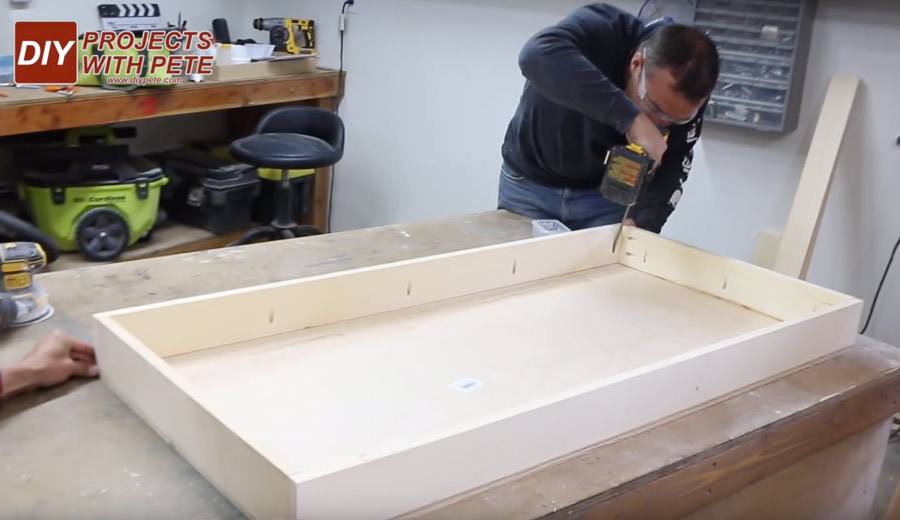
If you are using normal screws, pre-drill and then use 1 1/2 inch long screws from the top side to secure the plywood.

Cut the legs to 12 inches in length. Once they are cut to this size, measure up 11 1/4 inches from the end and make a mark. Then cut an 11 degree angle on the miter saw. The inside corner will be 11 1/4 inches and the outside corner side will be a little longer.
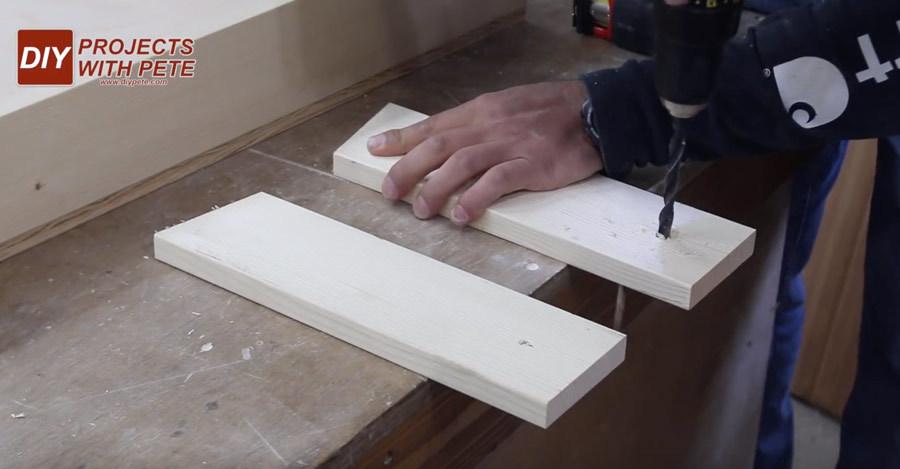
Measure in 1 3/4 inches from the top and side. Then drill a hole. I recommend pre-drilling with a smaller bit first to help the larger bit go in accurately.
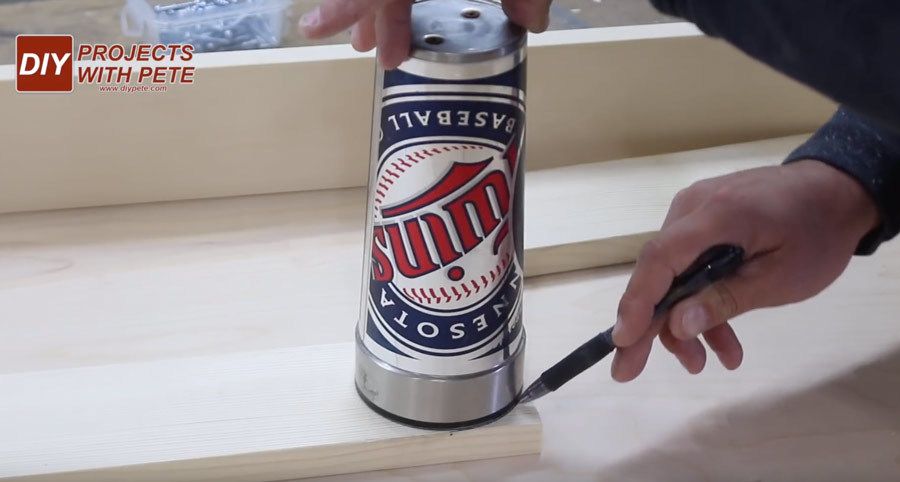
Use a coffee mug, compass, or something round to create a half circle on the top of the leg.
Cut the half circle using a jig saw. I'm a big fan of battery powered tools and love the Dewalt 20V jigsaw.

Place the leg in the frame. Use a shim or spacer to create a 1/8 inch gap between the top of the leg and frame. This will help prevent the leg from rubbing against the frame.
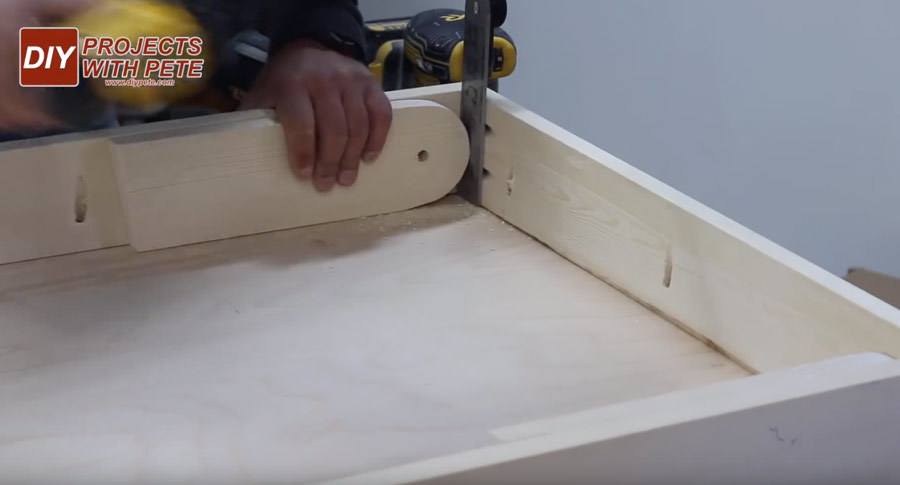
Clamp or hold the leg in place. Then insert a 3/8 inch drill bit through the hole in the leg and create a hole through the frame. No measuring is required for this step.
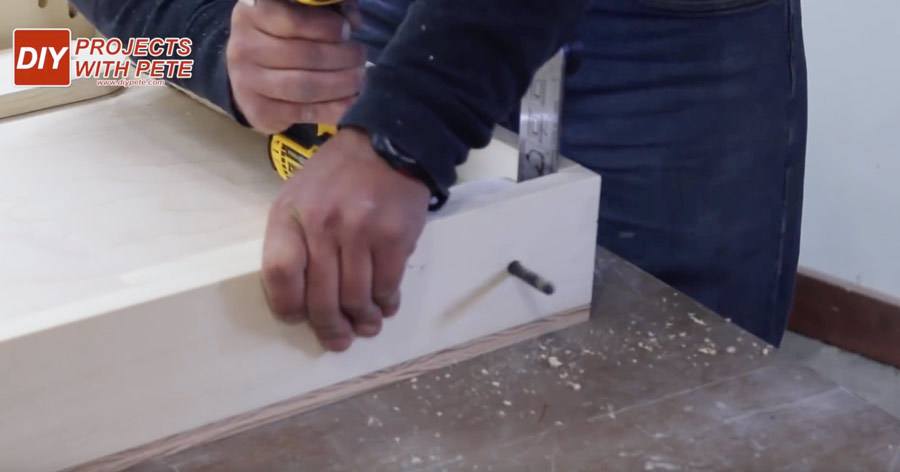
Add the 2 1/2 inch long carriage bolt. Secure on the inside with a 3/8 inch washer and wing nut.

Build the cornhole board drink holders and then attach them to each leg.
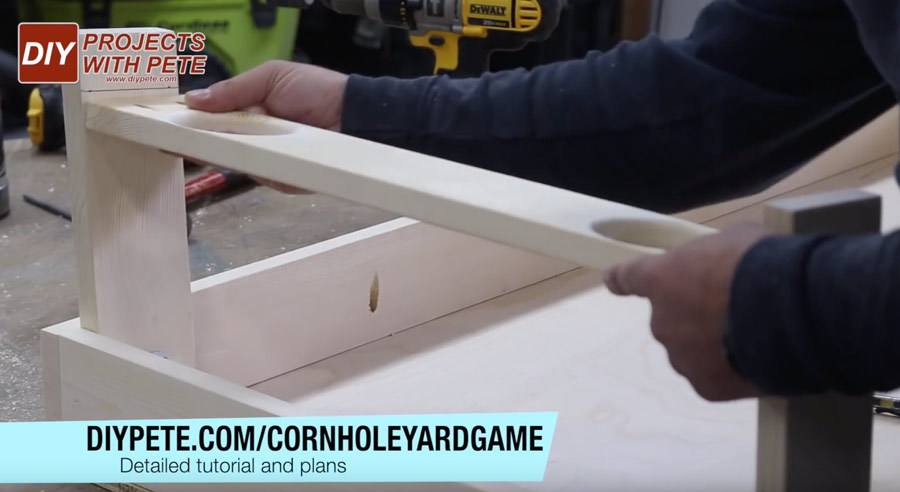
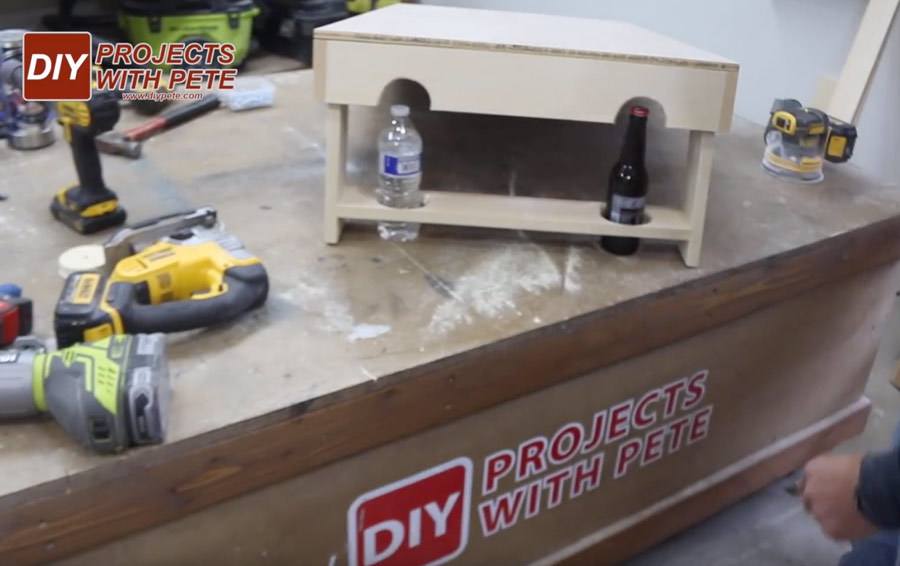
Use a jigsaw to create notches so larger bottles will fit in the drink holders. See the plans and video for more details.
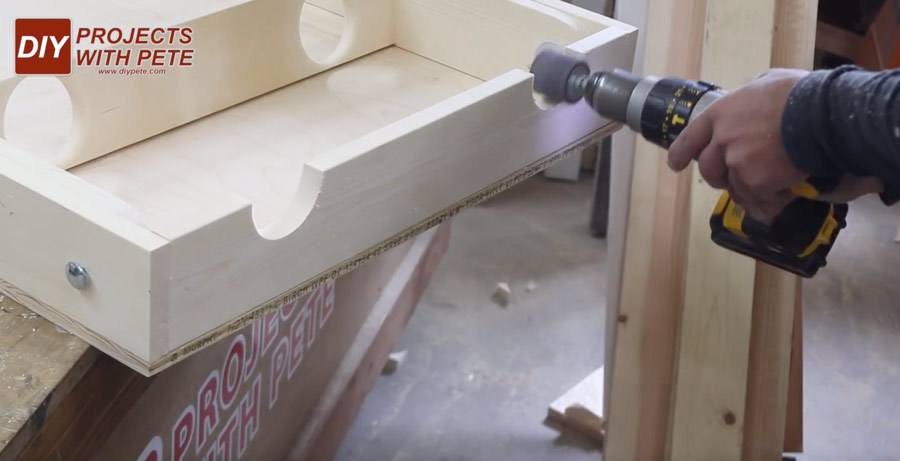
Test the drink holders on your cornhole boards.
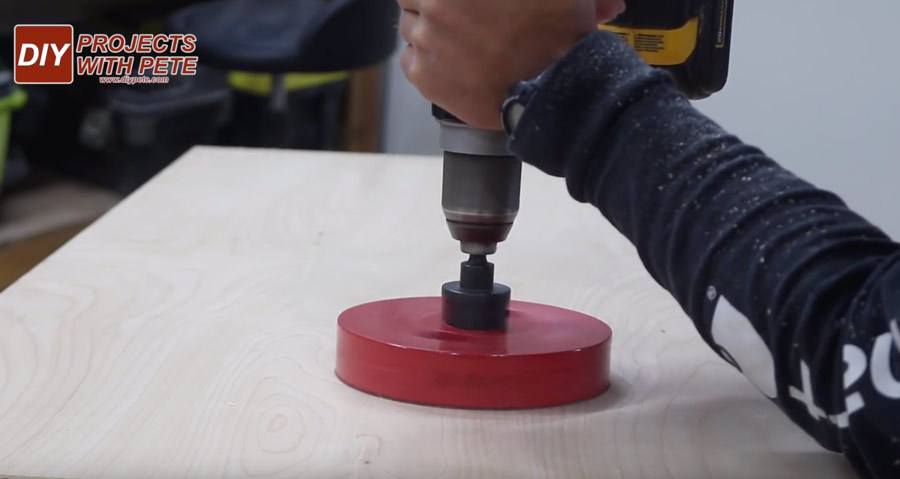
Measure 9 inches from the top and 12 inches from the side. Mark the center point and then use a 6 inch hole saw to create a perfect hole. I ordered the 6 inch hole saw for this tutorial about how to make cornhole boards from Amazon.
Use a jigsaw to cut out the hole if you do not have a hole saw. A jig saw will work well and you can sand the insides to help with imperfections. It isn't quite as easy to get a perfect hole, but it does the job just fine and still will look great!

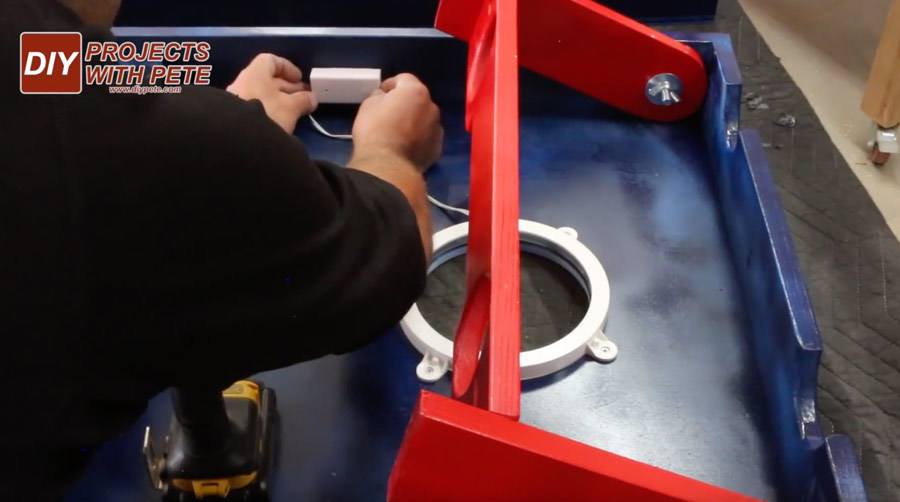
I test fit the LED ring to see how it would fit. It screws into the underside and fit perfectly around the circle.
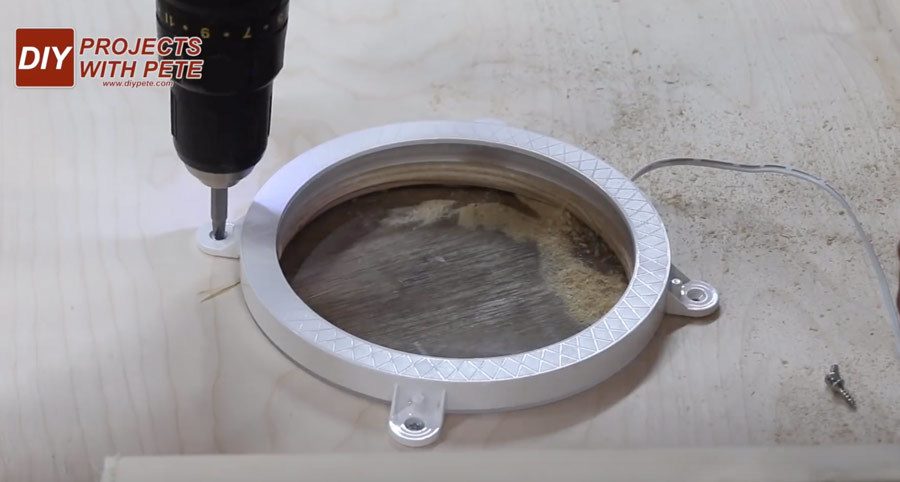
You will need to create a notch in the beverage holder board so the legs will lay flush when folded in if you've added an LED ring.
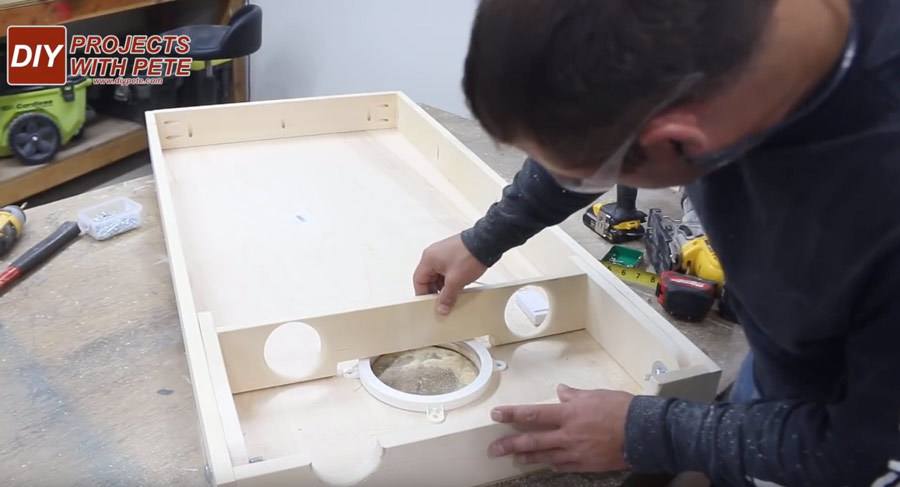
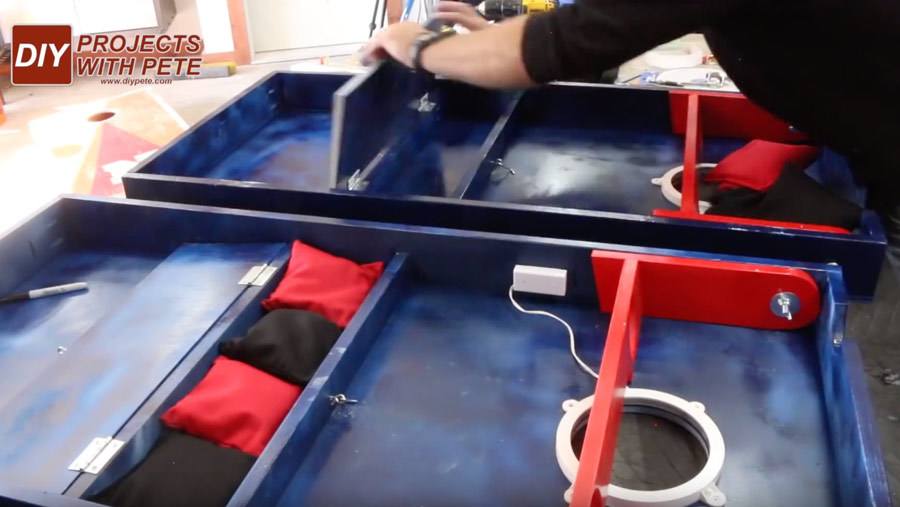
Add a simple box to the underside for bag and accessory storage so you will always have everything together. I ripped a couple scrap boards to 2 inches in width and cut to length. I used a piece of 1/2 inch plywood as the lid. Hardware will be added after painting.
Prepare the cornhole boards for a finish by adding stencils and masking areas for painting. To create a perfect 1 inch ring around the hole, I masked off the entire area. Next, I used a bucket with an 8 inch diameter and traced around it with a razor blade.

After you've cut around the bucket, simply pull off the tape and you'll have a perfect circle.
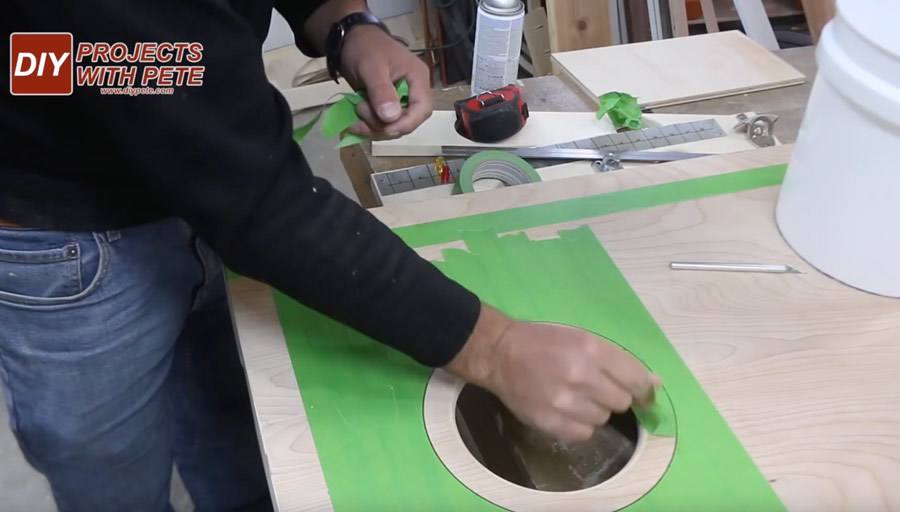
I used Frog Tape to mask off the areas. The outside perimeter has a 1 1/2 inch border around it. I'd recommend priming the areas that will be painted to help cover the wood grain and make the colors brighter. I used spray paint for this tutorial, but brushing on paint would work just as well or better. The downside of spray paint is the smell, mess, and amount of paint that needs to be used. You'll most likely save some money by brushing on the paint.
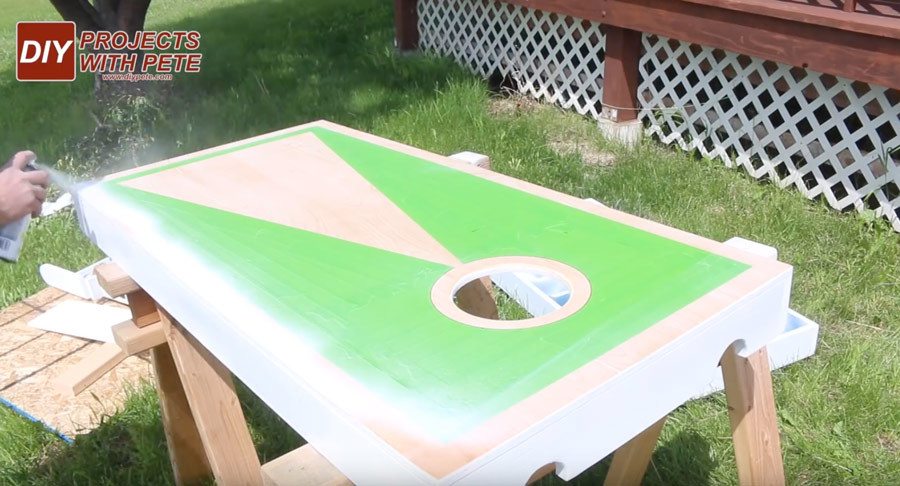
I like to remove the tape while the paint is still a little tacky. It seems to help with get a cleaner release against the paint.
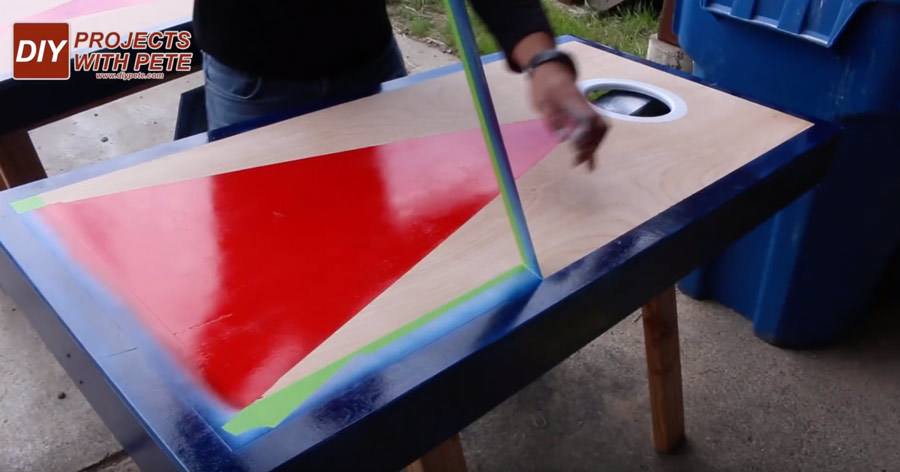
You'll want to seal the boards to protect them. I used a spray sealer from Rust-oleum that worked really well and dries super quick. Brush on urethane is another great option, however some brands of urethane can give white paint a yellow hue. So test the urethane if you have any white paint you'll be going over.
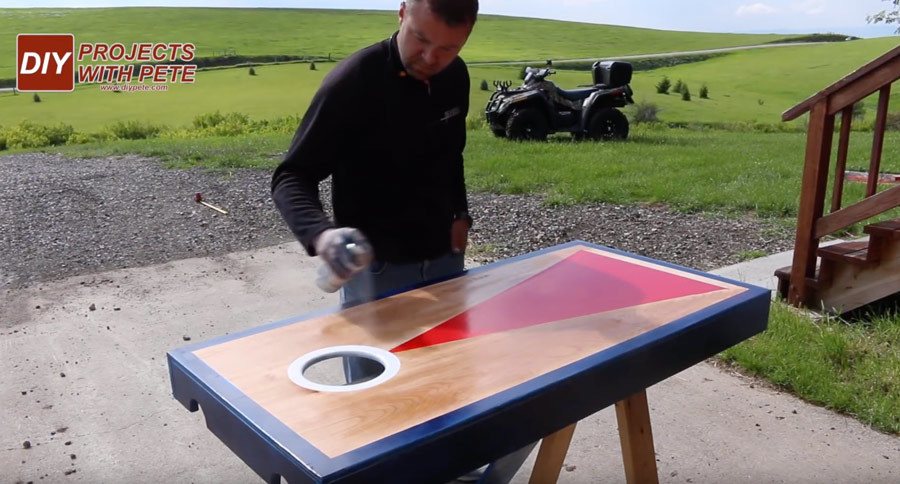
Let the paint dry and then begin adding hardware. I used 2 inch hinges for the storage compartment lid.
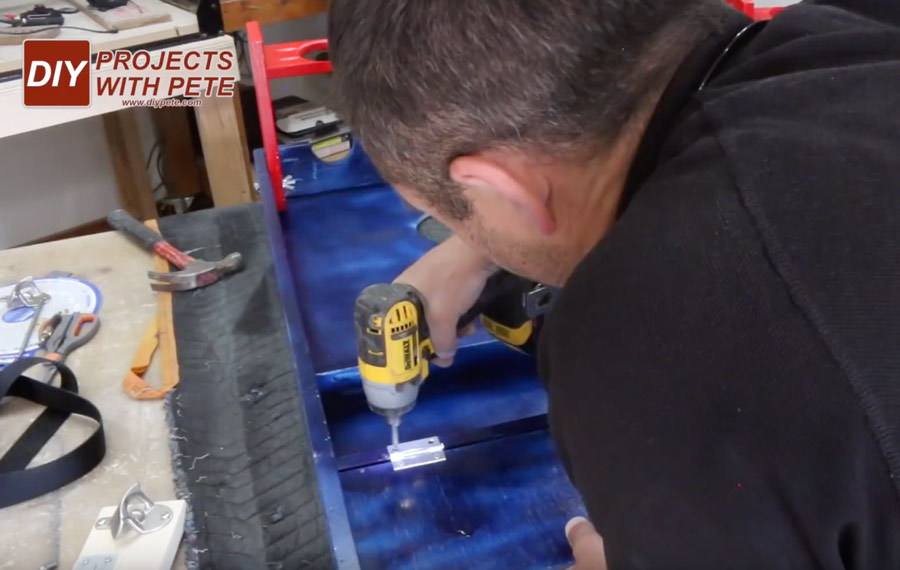
An eye screw and hook are used to keep the compartment shut.
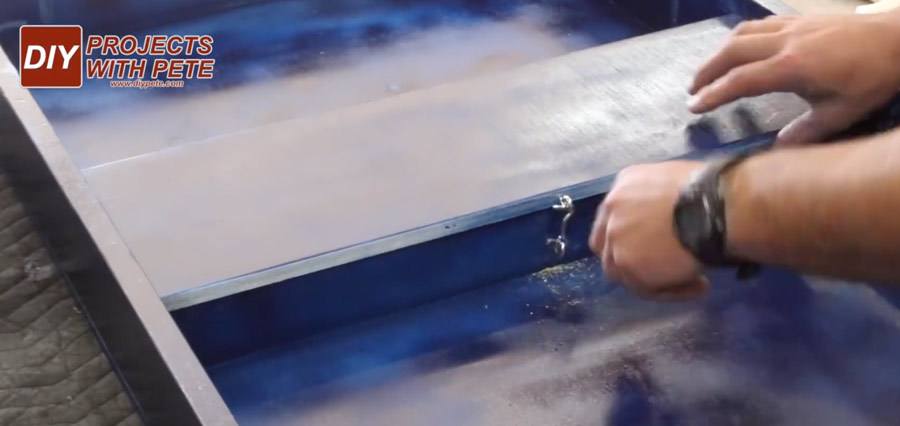
Install the LED ring and mount the battery pack on the inside of the frame using the mounting tape.
Here is a look at the bag storage compartment for the cornhole boards.
A handle is added in the center.
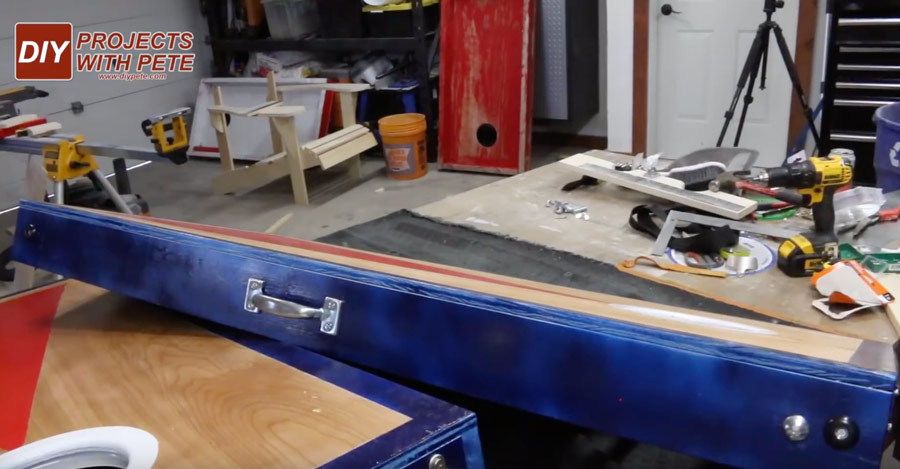
I used 1 1/2 inch black webbing to create straps to carry each board. D ring mounts or strap mounts work well to attach the straps to the board.

I always am talking or goofing around while playing the game, and so remembering the score isn't my strong point. To make it easier and so there are never any arguements, I made a magnetic scoreboard by cutting some thin gauge galvanized steel to 1 3/4 inches by 19 inches.
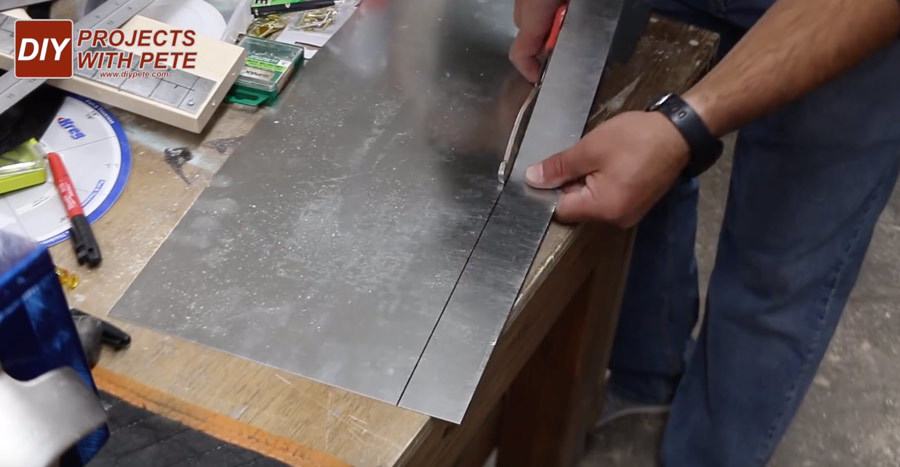
The safety hasps / buckles were added on each end. I also secured the scoreboard and beverage holder. I added a stencil to the scoreboard, but you can find pre-made cornhole score cards on Amazon.
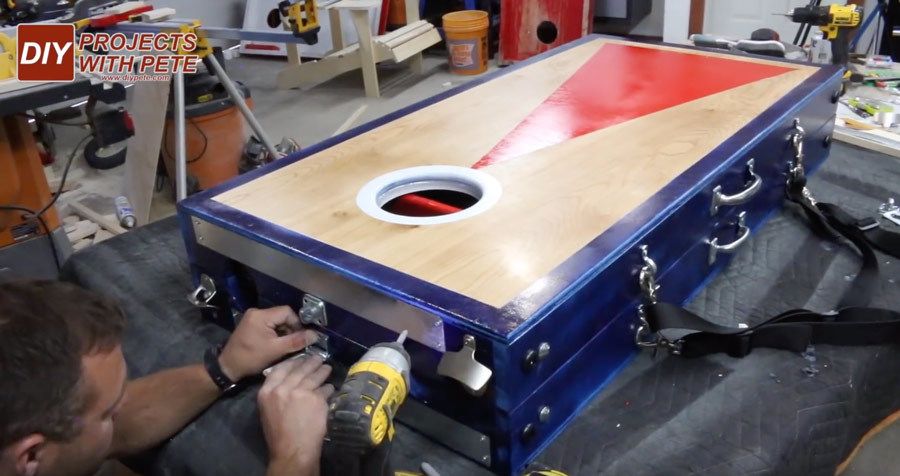
The cornhole boards can be carried together as a set once buckled together. They can also be carried separately using either the strap or handle.
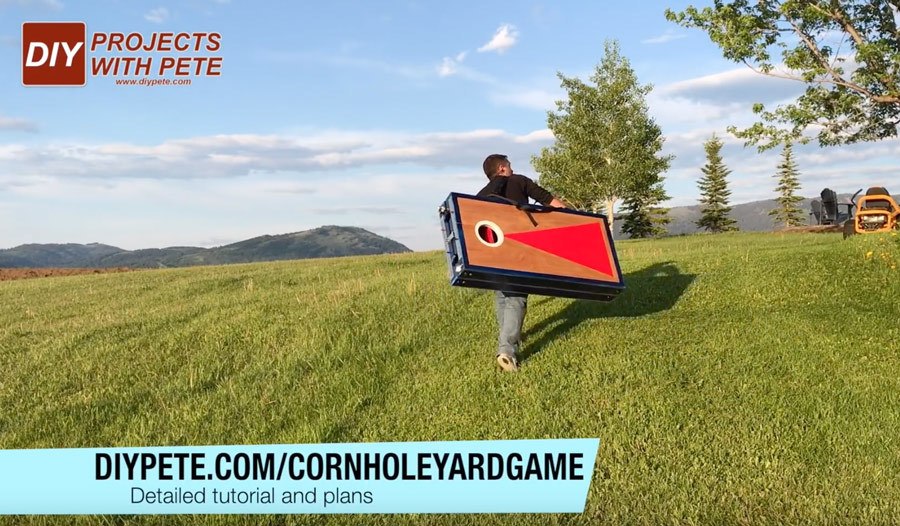
Quickly setup the boards by removing the buckle, taking the bags out of the storage compartment, and then setting up the boards.
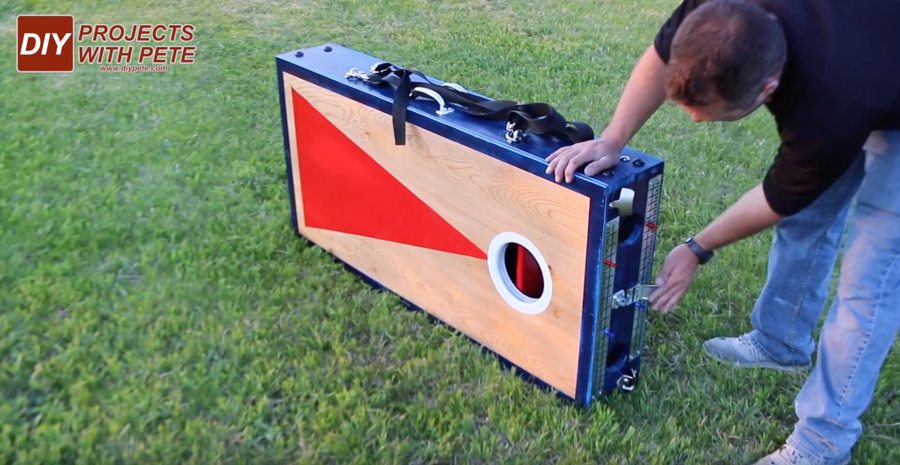
The front edge of the board should be spaced 27 feet from the front edge of the other board. I measured out a roll of mason string to 27 feet and use that to check the distance each time.
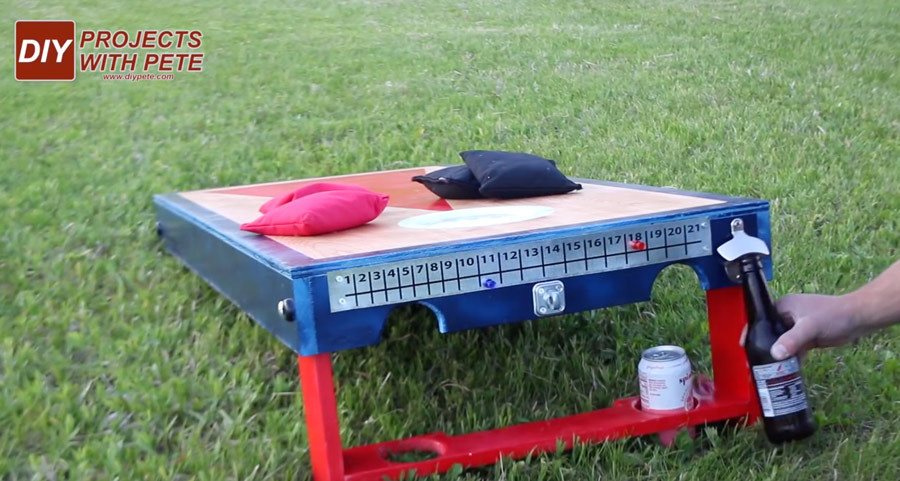
Enjoy a cold beverage, get the grill fired up, and start enjoying your new backyard game!
I hope this tutorial helps show you how to make cornhole boards and that you enjoy the process.
Don't forget to check out the complete video tutorial and to download the plans if you are interested in building this project. Please share with your friends, on Pinterest, and post photos of your completed boards below. Cheers! – Pete
